How to Assemble Standing Desk Assembly

The decision to upgrade to a standing desk, such as an uplift desk, is a fantastic one for your health and productivity. But after that initial excitement, the looming assembly task might appear daunting. Fear not, fellow desk enthusiasts! As a professional furniture assembler with years of experience, I will guide you through the general process of assembling a standing desk, ensuring you confidently tackle the task.
Supplies for Assembling Standing Desk
Most uplift desks come with all the necessary parts and tools for assembly. Here’s what you’ll typically find:
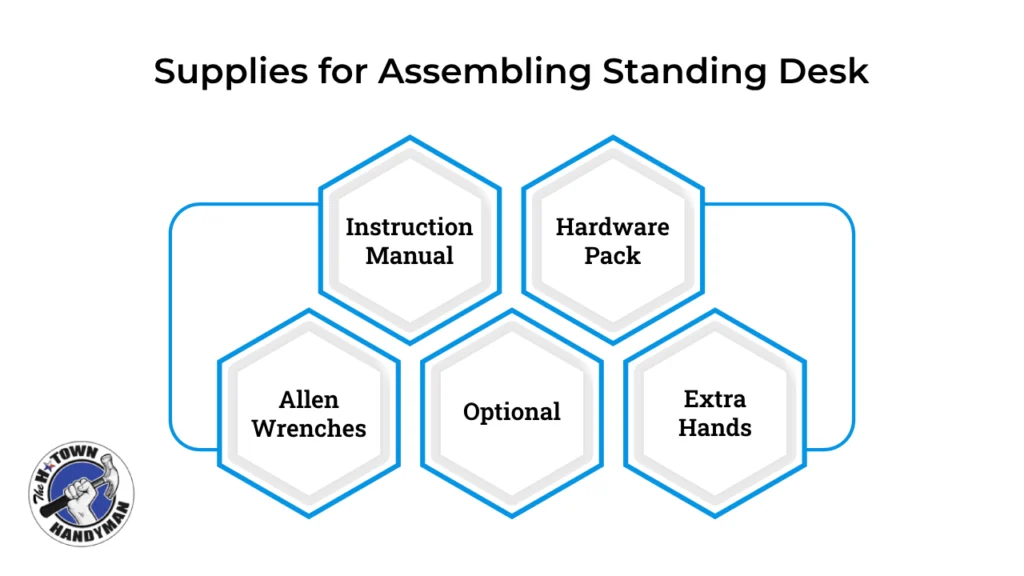
- Instruction Manual: This is your roadmap to success. Read it carefully before starting.
- Hardware Pack: This will include screws, bolts, washers, and other fasteners. Some desks may use a labeled system to simplify identification.
- Allen Wrenches: These are the most common tools for tightening screws in furniture assembly for an uplift desk.
- Optional: A Phillips head screwdriver might be needed for specific components.
- Extra Hands: While not always necessary, having a friend or helper can make the process smoother, especially for lifting the desktop.
Step-by-Step Assembly
While the specific steps may vary depending on the brand and model of your desk, the general process usually follows this format:
- Unboxing and Inventory: Carefully unpack all the components and lay them out in a clear workspace. Identify each part according to the instruction manual.
- Leg Assembly: Attach the base components, such as side brackets and feet, to the legs of your uplift desk using the provided hardware and tools. Tighten everything securely, but avoid over-tightening.
- Crossbar Attachment: Connect the horizontal support bar between the legs. This may involve sliding rails into designated slots and securing them with screws.
- Desktop Installation: Carefully flip the desktop upside down and align it with the pre-drilled holes on the frame. With your helper (if available), secure the desktop to the frame using the appropriate screws.
- Motor and Control Panel: Some uplift desks have electric height adjustment features therefore these will involve attaching the motor and control panel according to the specific instructions.
- Cable Management (Optional): Many desks offer cable management solutions to keep your workspace organized. Follow the instructions to install these components.
- Final Touches: Double-check all connections to ensure everything is secure. Then familiarize yourself with the operation of the control panel.
Hire us for expert furniture assembly services!
Pro Tips for Assembly Success
- Clear Workspace: Having a clean, as well as flat surface for assembly will make the process easier and prevent accidental damage to parts.
- Follow the Instructions: While this might seem obvious, taking the time to carefully read and understand each step will save you time and frustration in the long run.
- Sort the Hardware: Separate the screws and fasteners into groups based on size and function. This will save you time searching for the right piece during the assembly of your uplift desk.
- Take Your Time: Don’t rush through the process. Focus on accuracy and ensure all connections are secure before moving on.
- Enjoy the Process: Building your own standing desk can be a rewarding experience. Take pride in your accomplishments as you create your new ergonomic workspace!
If you encounter any difficulties during assembly, don’t hesitate to consult the manufacturer’s website or customer support. Many brands offer online resources, including assembly videos, that can provide visual guidance. Alternatively, a professional handyman can also be a valuable resource for ensuring your standing desk is set up correctly and efficiently.
Conclusion
Assembling your standing desk doesn’t have to be daunting. With these comprehensive expert tips and guides from a professional furniture assembler, you’re equipped to tackle the task confidently. From gathering your supplies to the final touches, follow these steps for a successful assembly experience. Enjoy creating your ergonomic workspace with your new uplift desk, and reap the benefits of improved health and productivity!
Related Categories: Furniture Assembly